

Brioche, the queen of the French breakfast
Make an authentic old-fashioned French brioche, a recipe over 100 years old.

Bonjour and welcome to recipe no. 4.
I must tell you about brioche, that faithful companion of our French mornings. It inhabits our breakfasts and afternoon treats with that quiet certainty that makes for cherished habits. Children and adults alike, we all love it. In our supermarkets, it reigns over its own territory, and every French bakery reserves a place of honor for it.
Journey with me through its many faces: the Vendée gâche, dense and melting, blooming with orange blossom fragrances, sometimes rum or vanilla. It brightens our Easter tables. Then the Savoyard brioche de Saint-Genix and its Lyonnaise cousin, both adorned with pink pralines like edible jewels. And that braided Alsatian brioche, crowned with pearl sugar, which knows how to charm the eye as much as the palate.
Since Easter knocks at our doors this Sunday, and brioche becomes queen of our tables, let me unveil a treasure for you: the Provençal brioche.

Let me tell you the story of this brioche. It comes to us from Jean-Baptiste Reboul, a master Provençal cook who, in 1897, bequeathed us his monument: La Cuisinière provençale. Eleven hundred and twenty recipes gathered in this cathedral-book of our heritage, including this precious brioche.
I have taken the liberty of letting it evolve with gentleness. The original, too generous for our modern palates, called for 350 grams of butter - I kept 250. The salt too, softened from 15 to 10 grams. For you see, more than a century has passed, and our tastes have learned restraint.
I have also given flesh to what was merely a sketch: Reboul assumed you knew, while I explain everything. His period French, noble but distant, I have translated into the language of today's kitchens.
Your experience at the stove matters little. Novice or seasoned cook, this brioche awaits you and will reward you. I have written it so your hands will find their way without hesitation. You will need only this patience: a night's rest in the cool for the magic to work. Let us begin.

Old-fashioned bakery-style brioche
Brioche de boulanger à l’ancienne
Ingredients
Use a loaf pan that’s 30 cm long and at least 10 cm high. If your loaf pan is only about 5 cm high, don’t worry: we’ll give it a little boost (you’ll see how below). This recipe is made with a stand mixer fitted with a dough hook. You can also make it by hand, but be prepared to use some elbow grease!
500 g of T45 flour (or cake flour)
A small amount of lukewarm water, about 100 to 200 ml (between 25°C and 30°C)
10 g of fresh baker’s yeast
250 g of unsalted butter
7 eggs
10 g of fleur de sel (or fine sea salt)
50 g of light brown sugar (blended into a powder)
Preparation
1 hour before: Take your eggs and butter out of the fridge and let them come to room temperature.
The “pâte mollette”
Create a homemade proofing chamber
Preheat your oven to its lowest setting (no more than 30°C / 86°F). Boil some water, pour it into a bowl, and place the bowl at the bottom of the oven. This will create a warm, humid environment (homemade proofing chamber), perfect for helping the dough rise.Prepare the base dough
In a mixing bowl, add 125 g of flour (a quarter of the total 500 g needed for the recipe).Activate the yeast
Heat a small amount of water in the microwave for 7 seconds at full power. Check that the water is between 25°C and 35°C (any hotter and the yeast will lose its effectiveness). Add 10 g of fresh yeast to the warm water and stir well until fully dissolved.Form your starter dough
Pour the yeast mixture into the center of the flour and stir until you get a soft, slightly sticky dough that’s easy to handle (it shouldn’t be runny).Let it rest
Lightly dust the top of the dough with flour and cover it with cling film, pressing it directly onto the dough. Place the bowl in the proofing oven and let it rest while you prepare the main dough.


Kneading
Prepare the main dough
In the bowl of your stand mixer, add the remaining 375 g of flour. Add the 250 g of butter (cut into pieces) and 2 eggs.
Start kneading gently on the lowest speed.Incorporate the eggs one by one
Once the first two eggs are fully combined, add the remaining 5 eggs, one at a time, kneading well after each addition.
Add the salt and sugar
Next, add 10 g of salt and 50 g of sugar while continuing to knead.
Add the starter dough
When the dough is smooth and uniform, incorporate the *pâte molette* if it has doubled in size. If not, pause your preparation and let the *pâte molette* rest until it has doubled.Knead in two stages
Use timers: knead at low speed for 10 minutes, then increase to medium speed and knead for another 10 minutes.Prepare the proofing chamber again
Preheat your oven again to its lowest temperature, and replace the water in the bowl with freshly boiled water.First rise
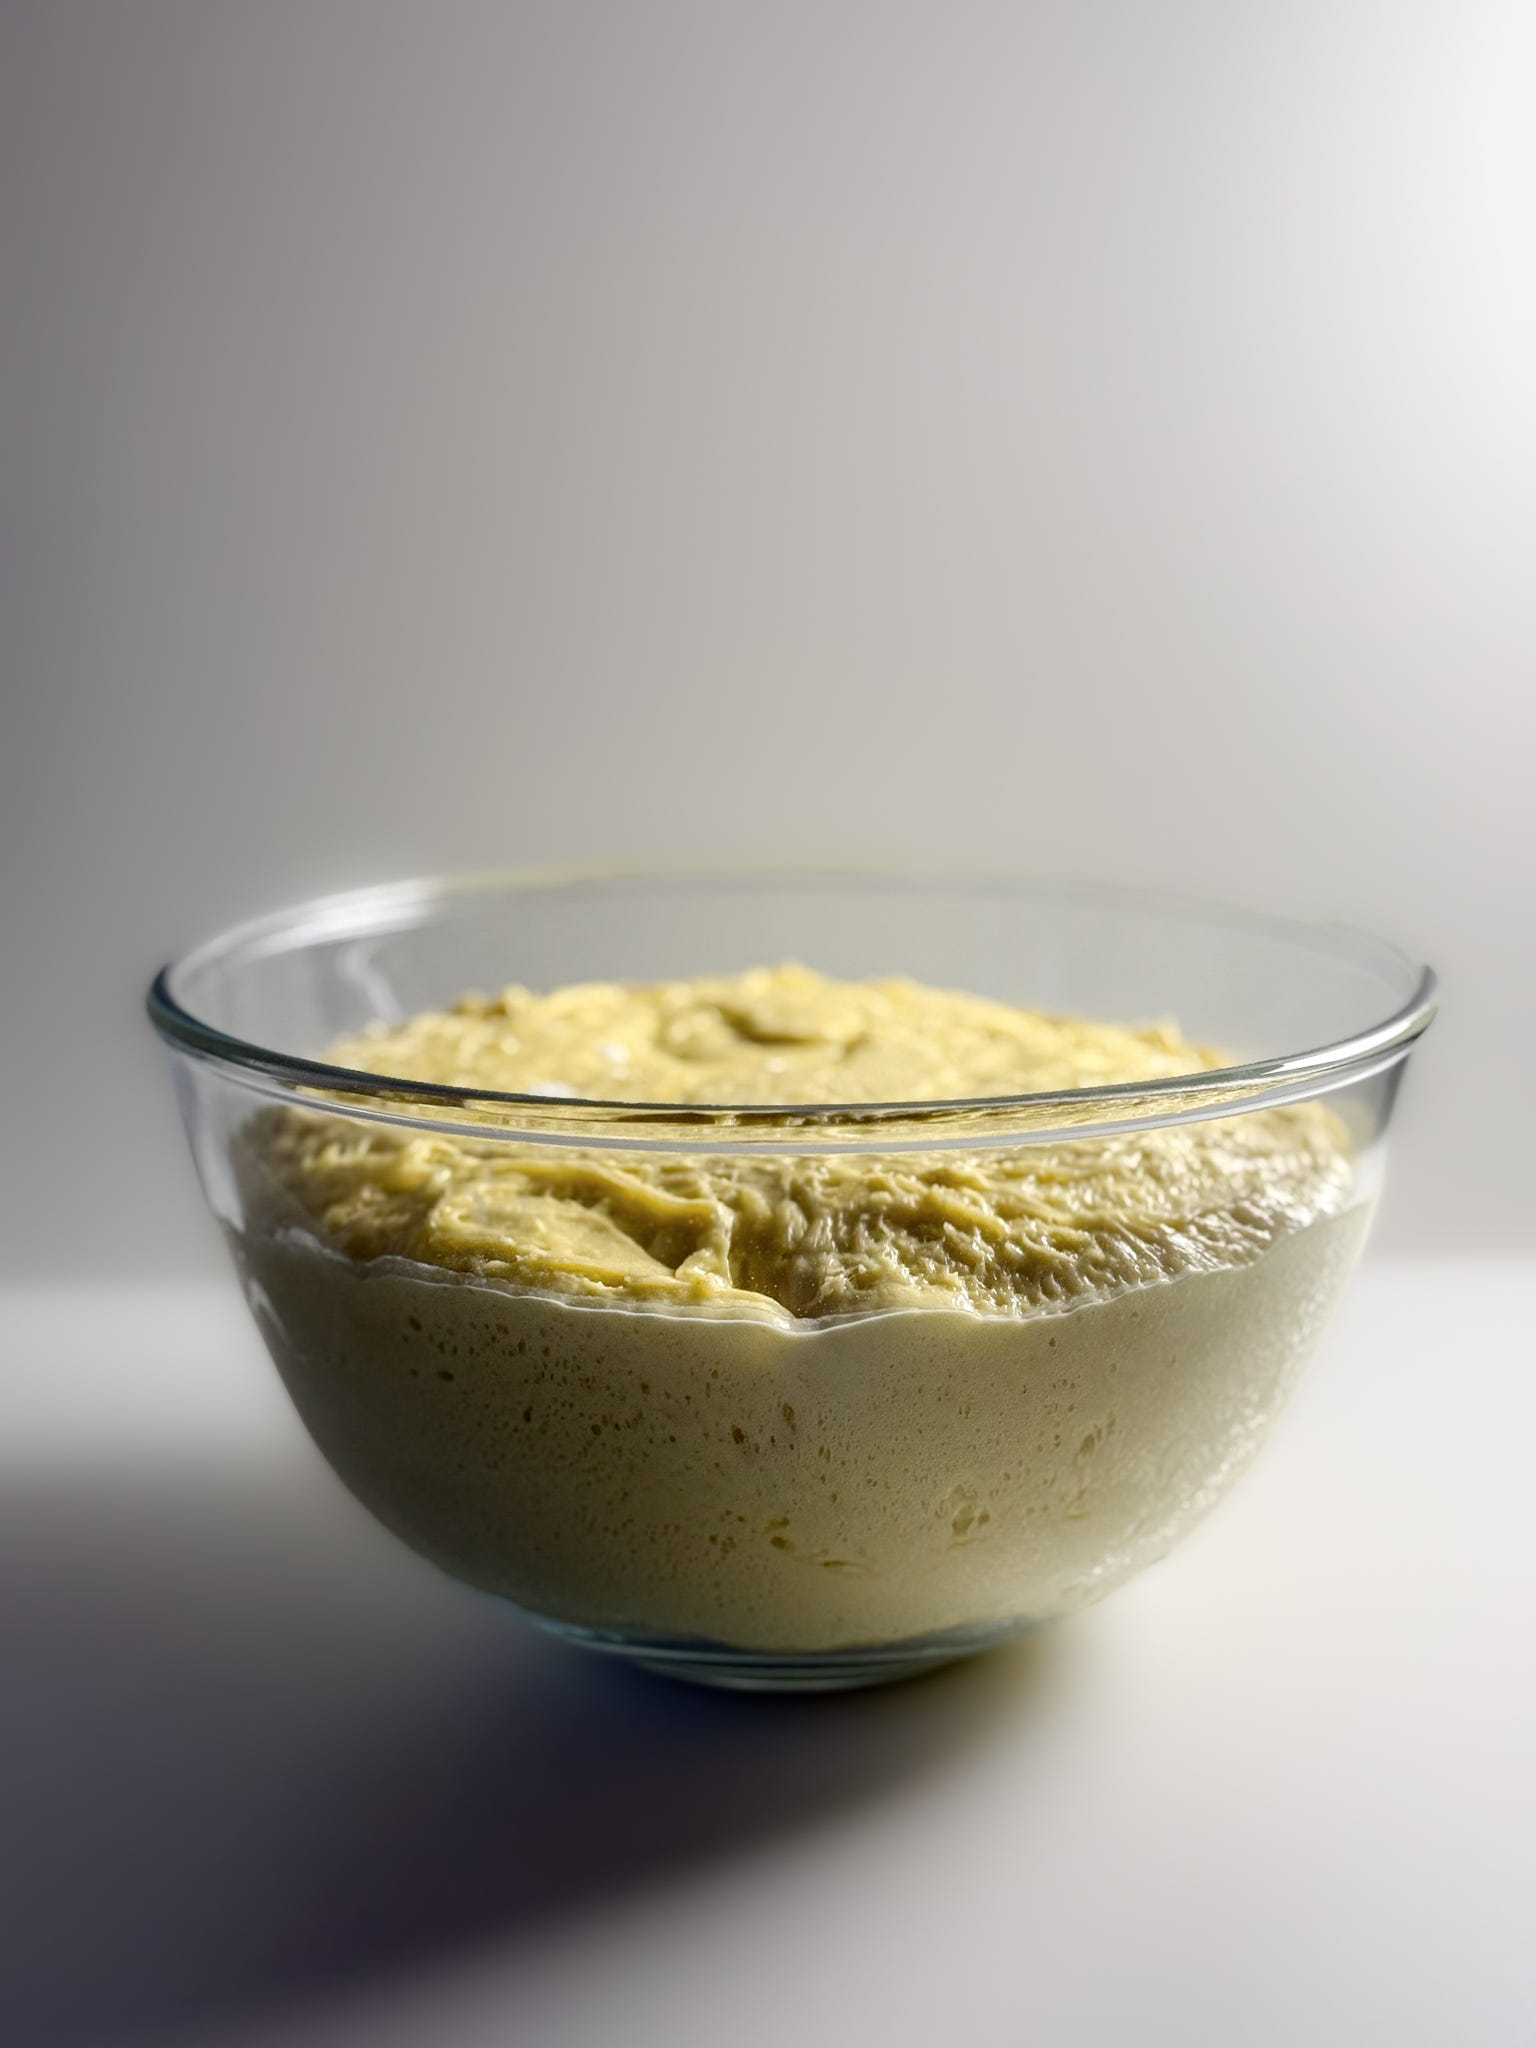
Transfer the dough to a lightly floured mixing bowl, dust the top with a bit of flour, and cover it directly with cling film (make sure the film touches the dough). Let it rise in your proofing oven for 2 hours.Gently deflate the dough
After 2 hours, the dough should have doubled in size. If it hasn’t, let it rest for another hour. Then, remove the plastic wrap, lightly flour your hand, gently press your fist into the center of the dough, and fold it over four times to release the excess air without overworking it (that’s what’s called “deflating the dough.”).Refrigerate overnight
Dust the top again with a bit of flour, cover with cling film (in contact with the dough), and refrigerate overnight.
Shaping
The next morning, your dough should have doubled in volume again. If it hasn’t, no worries! You can still proceed with the next steps.
Flour your work surface. Keep your bag of flour nearby, you’ll need it. You’ll also need a kitchen scale and a bench scraper. If you don’t have a scale, just eyeball it. If you don’t have a bench scraper, use a knife.
Remove the plastic wrap and place the dough onto your floured surface. Shape it into a ball and weigh it. Divide it into two equal parts, then divide each part into four equal pieces. You’ll end up with 8 small dough balls. Use a calculator if, like me, mental math isn’t your strong suit.
For each dough ball: flour your surface and the top of the dough, fold the dough over itself 4 times toward the center to give it structure, flip it over while gently cupping it with your palm, and roll it in small circles until you have a smooth, round ball.
The pan
If your pan isn’t at least 10 cm high, we’re going to give it a little help.
Take a sheet of parchment paper, fold it lengthwise, then cut it in half. You’ll have two strips.
Inside the loaf pan, spread a bit of honey on the sides using your finger, this will help the parchment stick.
Place the strips along the sides of the pan. Then place the pan in the oven (on the middle rack) to check if the paper touches the ceiling. If it does, trim off the excess, otherwise, it could burn.
Place your dough balls into the loaf pan. Use a floured spatula to separate them and prevent one from crowding the others. The goal is to get an even brioche.
In a bowl, beat one whole egg. Then divide the mixture evenly between two separate bowls. In one of the bowls, add a splash of water and beat again to loosen the mixture: this is known as a “soft glaze.” Using a pastry brush, apply a thin layer of it over your dough. Keep the second bowl (with the unsoftened glaze) in the fridge.1
Then cover it directly with plastic wrap (so it touches the surface) and let it rest for 2 hours at room temperature.


Baking
After the 2-hour rise, preheat your oven to 170°C (fan-assisted / convection mode).
Take the bowl with the unsoftened glaze and, using a pastry brush, apply a thin layer over your dough. You’ll see, brioche is glazed in two stages.
Place the pan on the middle rack of the oven and bake for 45 minutes. Keep a close eye on it: if it starts browning too much, place a sheet of aluminum foil on top.
To check if it’s done, insert a knife into the center of the brioche: if it comes out clean, it’s ready; if there’s still dough on the blade, it needs more time.
Once it’s done, let it rest in the pan for 10 minutes. Then, if you’re not eating it right away (which would be a shame!), remove it from the pan and place it immediately in an airtight container, wrap it in cling film, or put it in a resealable bag.
Never leave it out in the open, it will dry out.
FAQ
Which flour should I use for brioche?
Brioche is a yeast dough, so you need a light flour that helps the dough rise well → Use T45 flour (cake flour) - (or a 50/50 mix of T45 and T55 all-purpose flour, if T45 is hard to find).
How do I get that perfect fluffy, pull-apart texture?
Knead for a long time, even if the dough seems ready → You need at least 20 minutes of kneading in a stand mixer for the gluten to develop properly → That’s what gives the brioche its soft, airy, and stretchy crumb.
My brioche has lost its texture.
Warm up a slice in the microwave for a few seconds on low power or pop it in the toaster: this melts the butter inside and brings back the soft, pillowy texture.
How long does it keep?
About five days at room temperature.
You can also freeze it for up to 3 months. Let it thaw at room temperature, then reheat it (as explained above) before enjoying.


According to the rules of French baking, brioche should be glazed in two stages: first with an egg wash thinned with water or milk, just before proofing or resting; then a second time with whole egg, just before scoring and baking.
I'm excited to try making this!! Brioche is my boyfriend’s favorite & he's been asking me to learn how to make it.
Thanks! I was waiting for this the whole week like a child waits for Christmas! 😍 i cannot wait to try this out.